Garden Champion Sylvia Herrera in the Spotlight

By Sierra Reinertson, Volunteer

This is a new feature highlighting the people who support Sustainable Solano’s work with their time, energy and commitment to shaping a better world while strengthening their communities.
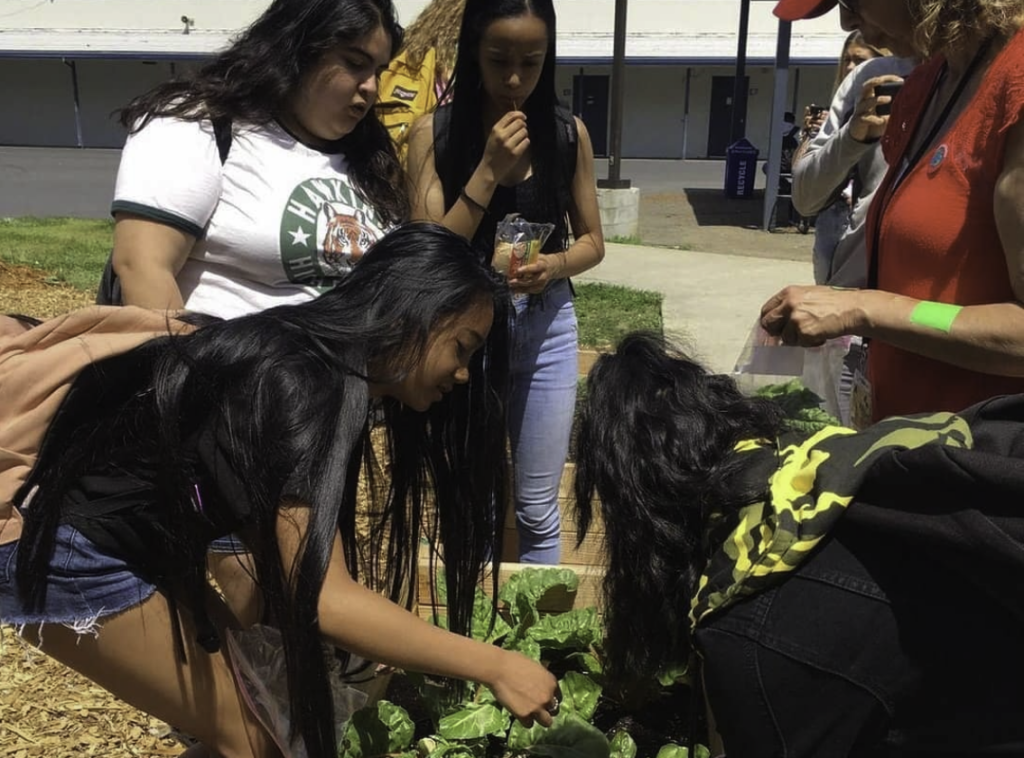
Sylvia Herrera first became involved with Sustainable Solano three years ago, when the organization saw a banner she had placed in front of Armijo High School announcing to the public that there would be a community garden on campus. She didn’t realize how many people drove by and saw that sign. Several organizations and individuals reached out to her, saying they were interested in helping her make this happen. The power of a banner!

Sylvia Herrera

Since the very beginning, Sylvia has dedicated herself to the garden and has rallied her students and the whole school to participate in the garden and be closer to nature. As a Solano Gardens garden champion, she is constantly maintaining the garden (named Jardin de la Esperanza) to make sure her students and other Armijo staff have a beautiful place to enjoy. She is also constantly brainstorming ways to use the garden as a place of belonging and has hosted classes outside, Dia de Los Muertos and Martin Luther King Day events during lunch hour, and nutrition classes with her students — showing her commitment to her school community and nature.

Learn more about Sylvia and the work she does with us below!

What do you enjoy the most about the work you do with us?

While I enjoy technology, there is something to be said about being outdoors, hands-on learning, and the community working towards a goal together. There is something very empowering in that. Being in the open air is nice, it’s a nice change from being in a classroom; in fact that is why we have lots of seating in the garden, it can be used as an outdoor classroom.

What’s one experience or event that stands out for you?

An experience that stands out is when we actually installed the garden at Armijo. After all the talking, planning, getting things approved and what-not, the day finally came to start shoveling and making the garden a reality. The entire Armijo community turned out, over 500 students helped in one form or another. All my classes were out there shoveling, moving mulch, planting trees, you name it. Other classes helped out, as well as the football team, soccer team, the cheerleaders. I filmed everything, as did our multimedia department. It really brought the school together. Students I didn’t even know would come up to me and say, “Hey, Ms. Herrera, can I help?” The garden brought out the best in EVERYONE. … Group effort in every sense of the word.

What do you wish more people knew about Sustainable Solano or the program you volunteer with?

I’d like people to know that gardening/growing your own food is beneficial in so many ways. You are helping the environment, you are helping yourself by growing organic food that you can share with your family, and you are making the choice to eat healthier! Also, this program brings awareness to gardening, which connects to nutrition, and helping children make better choices with their food. One thing we do with our harvests is donate them to Armijo families in need, so it’s nice that the students see the garden going full circle. We are planting, nurturing, growing, harvesting and sharing our harvest with families who need it. This is very empowering and the students can literally see that the work in the garden is helping someone. The garden is a safe and positive space, and we need more of them at our schools and in our homes.

How do you envision a sustainable Solano County in the future?

I just see it growing and growing. Maybe bring back gardening/nutrition electives back to the schools. Having students learn how to prepare foods, that is always fun! Having students think about careers in the field of agriculture, the environment, sustainable gardens, nutrition, botany, etc.

Tell us something interesting that people may not know about you.

I like to knit scarves, especially during wintertime … they turn out pretty nice! I also like singing. I do a little karaoke here and there.

A special thank you to Sierra Reinertson for giving her time and talent to write these volunteer and champion profiles!

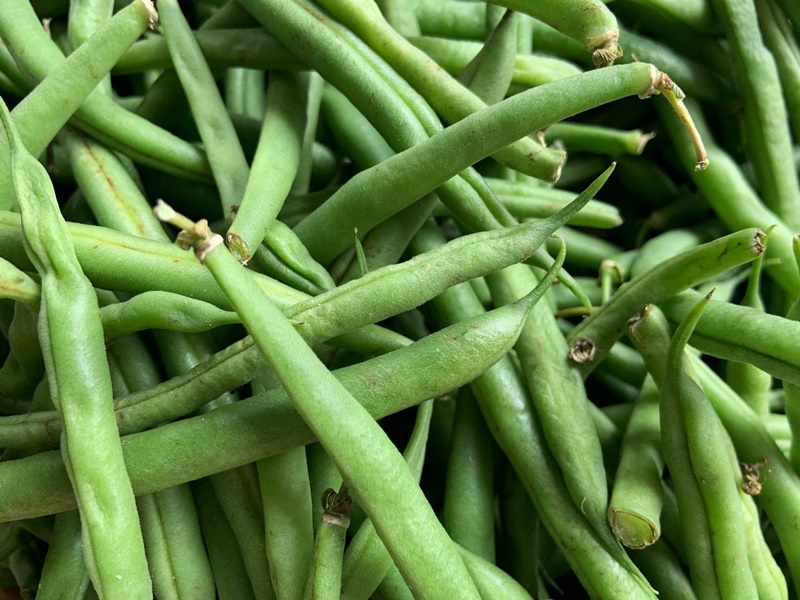
Summer Green Beans

Photo: Unsplash

Use those summer green beans in these two recipes: Grilled Corn, Green Bean & Tomato Salad, and Roasted Green Beans with Gremolata.

Grilled Corn, Green Bean & Tomato Salad

Ingredients:

4 ears sweet corn, husked
About 1-2 T. cooking oil (olive oil / avocado / canola)
1 lb. green beans, trimmed
1 pint cherry tomatoes, halved (or equivalent larger tomatoes, sliced/chopped)
Salt & Pepper, to taste
1 small bunch cilantro, leaves roughly chopped (reserve some for the dressing)

Brush ears of corn lightly with the oil and season with salt and pepper. Grill corn over medium-high heat, turning frequently, until some kernels are turning a medium brown. Cool and cut corn from the cobs. Transfer to a large mixing bowl.

Blanch the green beans in boiling, salted water, then shock them in ice water. Cut in half, if desired. Add beans to the bowl with the corn. Add halved cherry tomatoes. Set aside.

Creamy Cilantro-Buttermilk Dressing

1 cup well-shaken buttermilk
½ cup mayonnaise
2 T. olive oil
1 T. lime juice
1 garlic clove, minced
1 small jalapeno pepper, seeded and minced
1 to 2 T. chopped cilantro + more as needed / for garnish
Kosher salt & black pepper, to taste

For dressing: Blend all ingredients in a blender until smooth. Keeps 1 week in the refrigerator,
in a sealed container. (Makes about 1 ¾ cups – you’ll have a little more than you need.)

Gently toss some of the buttermilk dressing with the corn-bean mixture. Add more as needed.

Stir in additional chopped cilantro to taste. Adjust seasonings with salt and pepper, and serve.
Serves 6 as an appetizer or side dish.

Download a printable version of the recipe here

Roasted Green Beans with Gremolata

Ingredients:

1 lb. green beans, trimmed
1 T. olive oil
A couple pinches of sugar
Salt and pepper, to taste

Gremolata:
2 T. minced fresh parsley
1 t. grated lemon zest
1 garlic clove, minced/mashed
Salt & pepper, to taste

For beans: Heat oven to 475 degrees. Combine beans, olive oil, pinches of sugar, ½ t. salt and
pepper to taste in a large bowl and toss to coat beans. Spread beans out onto a sheet pan and
tightly cover with foil. Roast for 8-10 minutes. Remove foil and roast another 8-10 minutes, or
until spotty brown and fork tender, stirring halfway through.

Meanwhile, combine the parsley, lemon zest and garlic in a small bowl, and season with salt
and pepper. Transfer beans to a serving platter, sprinkle with gremolata and serve.

Serves 4.

More Gremolata Variations!

  • Try adding 3-4 Tablespoons of nuts: (minced pistachios, or pine nuts) to the gremolata
    mixture above.
  • For more crunch, add panko bread crumbs, toasted in a little olive oil in a skillet.
  • Orange-Mint Gremolata (also good on asparagus!): 2 T. minced mint, 2 T. minced
    parsley, 2 t. grated orange zest, 1 minced garlic clove, pinch of cayenne pepper.
  • Cilantro-Lime Gremolata: 4 T. minced cilantro, 2 t. lime zest, 1 minced garlic clove.

Recipe from Cook’s Illustrated

Download a printable version of the recipe here

Learn how to make these recipes by watching the cooking class below

Summer Pestos

Photo: Unsplash

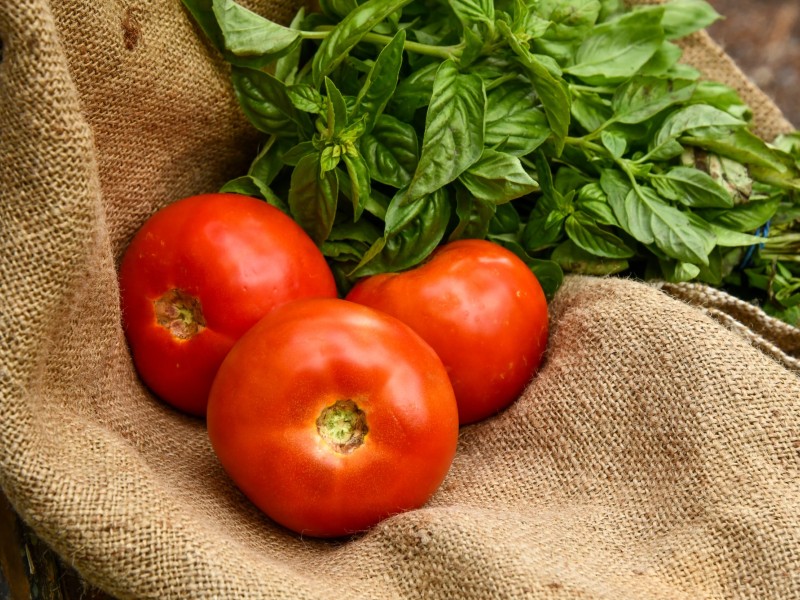
Fresh herbs and summer-ripe tomatoes create the perfect opportunity to top pasta, vegetables and more with Classic Basil Pesto, and Broiled Tomato & Walnut Pesto.

Classic Basil Pesto

Ingredients:

2 cups packed fresh basil leaves
¼ cup pine nuts, toasted
2-3 garlic cloves, unpeeled
2 T. fresh parsley leaves (optional)
About ½ cup extra-virgin olive oil, or more to taste
1/3 cup freshly grated Parmesan cheese
Kosher salt (about ½ teaspoon) & pepper, to taste

Optional garlic toasting: place unpeeled garlic in a small saute pan and toast over medium heat, shaking the pan occasionally until fragrant and dark spots appear, about 7 minutes. Let cool then peel.

Place basil and parsley leaves in heavy-duty freezer bag. Pound the bag with the flat side of a meat mallet or rolling pin until all leaves are bruised. (This will help release flavorful oils.)

Pulse basil and parsley, pine nuts, garlic and a little salt in a food processor to combine. With machine running, add the olive oil and process until smooth. Stir in the Parmesan and season with additional salt and pepper to taste.

Makes about ¾ cup.

Recipe adapted from Cook’s Illustrated.

Download a printable version of the recipe here

Broiled Tomato-Walnut Pesto

Ingredients:

2/3 cup walnuts
1 pint cherry tomatoes
1/3 cup olive oil + about 2-3 T. extra for drizzling
Kosher salt
6 oil-packed anchovies, coarsely chopped
2 garlic cloves, chopped
1 t. grated lemon zest
¼ t. crushed red pepper flakes
½ oz. Parmesan, finely grated (about ½ cup) + more for serving
1 t. ground black pepper
Optional: Basil, for topping / garnish

Preheat oven to 350. Toast walnuts on a rimmed baking sheet, tossing once, until slightly darkened, 8-10 minutes. Let cool.

Heat broiler. Toss tomatoes with 1 T. olive oil on a rimmed baking sheet and season with salt. Broil, tossing once, until tomatoes are blistered and have released some of their liquid, 5-7 minutes. Let cool.

Pulse anchovies, garlic, lemon zest, red pepper flakes and ½ oz. Parmesan in a food processor until finely ground. Add walnuts and tomatoes. With motor running, stream in 1/3 cup oil. Process just until combined. Season with salt and pepper.

If using for pasta, keep about ½ cup of pasta cooking liquid to add to pasta and pesto mixture. Add as needed until sauce coats pasta. Top finished dish with basil, Parmesan and another drizzle of olive oil.

Makes enough for 12 oz. pasta. It’s also great on grilled zucchini, summer squash and bell peppers!

Recipe adapted from Bon Appetit

Download a printable version of the recipe here

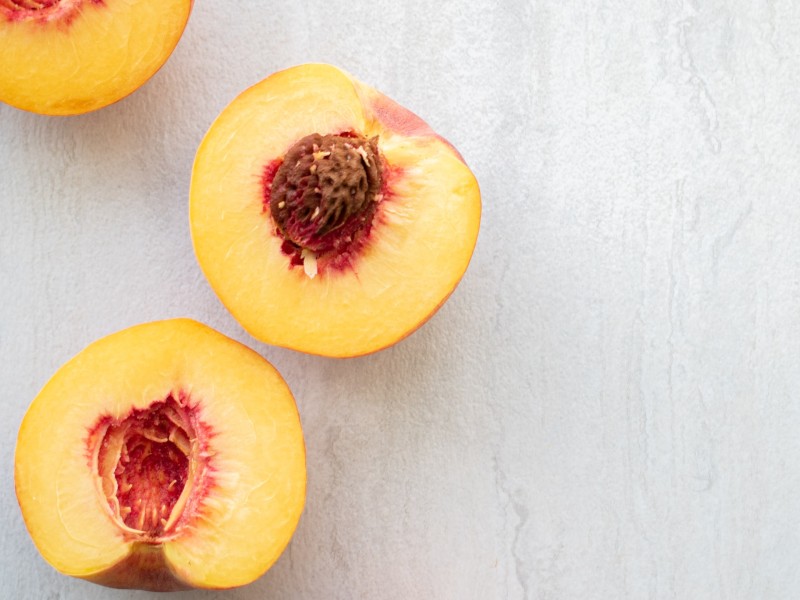
Fresh Peach Salsa

Photo: Unsplash

Ingredients:

2 fresh peaches (about 2 cups diced)
2 large tomatoes (about 2 cups diced)
½ cup diced red onion
1 jalapeno pepper, seeded & minced
2 cloves garlic, minced
¼ cup chopped cilantro
2 T. fresh lime juice
¼ t. Kosher salt
1/8 t. black pepper

Place all ingredients in a medium bowl. Mix gently to combine. Taste and adjust seasonings with additional lime juice, salt and pepper. Serve immediately.

Makes about 3 cups.

Chef’s Note: If preparing this in advance, wait to add the lime juice until right before serving. Acid turns green vegetables and herbs (in this case, the cilantro) a “pea green” color over time.

Learn how to make salsa out of almost anything with this “formula” from Bon Appetit!

Recipe from Chef Veronica Bearce

Download a printable version of the recipe here.

The Sustainable Rose Garden

By Katie Rivera, permaculturist and educator

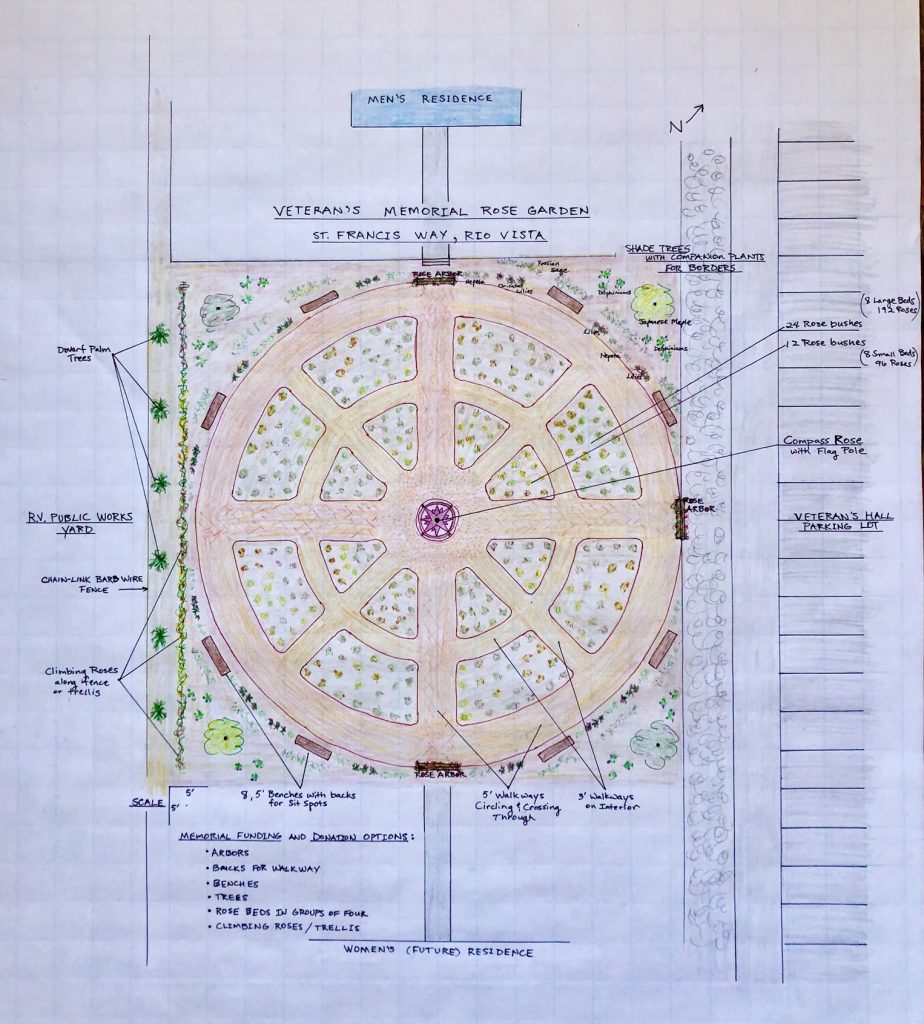
Katie Rivera, a recent Permaculture Design Certificate recipient and part of the team who designed the Rio Vista Veterans Residence demonstration food forest garden, shares this blog with us about how to grow beautiful roses sustainably. Katie will talk about her research and design process for a rose garden proposed for the Rio Vista Veterans Residence in a Zoom talk on sustainable rose gardening July 27 (Register here!). Join her for interesting facts about growing disease resistant, low maintenance roses and specific ideas and suggestions from the Veterans Memorial Rose Garden design.

Katie Rivera at Cordelia Community Park

I love roses! There is no other flower that can be a shrub, tree, or vine and give you as many choices of colors and fragrances than a rose. Wouldn’t it be nice to grow your own roses and have them thrive? Over the last couple of decades, researchers, rose cultivators and hybridizers have been working hard to get away from using harmful pesticides on their roses. Trials are being done all over the world to identify roses that are disease resistant, use less water, and require minimal care. Thankfully, these experts are sharing their findings with us! This is a great time to grow beautiful roses with just a bit of know-how and very little maintenance.

Rose Development In History

Let’s start with a little history about roses and their names.

Roses have been grown, survived and proven themselves over millions of years on their own without any kind of maintenance or intervention. “Species” roses are the oldest with only five petals. Any existing rose can be crossed with any other rose to come up with a new hybrid rose. A rose hybridized before 1867 is considered a “heritage” rose. Any rose after that date is called a “modern” rose. And roses grown post-2000 are designated “new millennial” roses. Roses that share a common flower form are considered to be in the same class.

The rose is America’s national flower. Did you know that? Well, I learned something new! In 1986, Congress designated the rose as the National Floral Emblem of the United States. Believe it or not, our first president, George Washington, was a rose breeder! The rose ‘Mary Washington’ was bred and named after George’s mother and is still grown today.

So growing roses should be easy peasy, right? Well, yes, if you grow the right rose in the right location with the right conditions. Getting all these components just ‘right’ is what sustainable gardening is all about.

Sustainable Gardening Best Practices

So what is Sustainable Gardening?

According to John Starnes in Probiotic Rose Growing, the healthiest and most stable ecologies in the natural world are complex, multi-tiered ones, with predator and prey creating sustainable balances. Why would our rose gardens be any different or deserve less?

  • Observation and taking note of what works and what does not is what sustainable gardening encompasses. We must be aware of what is going on in the garden and try to simulate nature in all its wonderful glory.
  • There are many components to watch and take note of in the garden, starting with the soil, water, sun, heat, cold, wind. The list will be specific to your unique site. Then the conscientious gardener must make informed plant decisions using the most organic solutions possible. Where there’s a will to do it ‘right,’ there’s a way!
  • Amending the soil might be the first step, but you won’t know until checking the planting area for pH levels (6-6.5 is ideal for roses) and available nutrients.
  • In regards to insect predators, the goal is to use an approach called Integrated Pest Management (IPM) to manage pests rather than eliminate them, while at the same time exerting minimal impact on the environment.
  • Roses thrive with mulch. It slowly breaks down and continuously feeds the soil. In addition, mulch helps retain moisture and blocks weeds. It’s a must!
  • Combining roses with annuals, grasses, perennials, shrubs and vines is a great way to create color combinations, make more interesting and creative borders, and attract beneficial insects into the garden. Beauty and benefits? What’s not to like?

Companion Plants for Roses

Trumpet , Oriental and Orienpet Lilies
Delphiniums
Perovskia atriplicifolia (Russian Sage)
Centaurea montana (Mountain Bluet)
Salvia ‘Blue Hills’
Veronica spicata ‘Royal Candles’
Veronica ‘Sunny Border Blue’
Heuchera ‘Palace Purple’
Polemonium sps.
Purple Pasqueflower
Platycondon ‘Sentimental’
Nepeta ‘Blue Carpet’
Vining Clematis of all kinds, especially ‘Betty Corning’ and Bush Clematis

*This list comes from William Radler’s Favorite Perennials to Grow as Companions to Roses

Soil Basics

Sustainable gardening requires that we develop a healthy respect for the soil as a living organism. Soil is the base we depend on to build our gardens. We must start there before we can begin to grow anything. A good soil is alive with micro- and macro- organisms devouring each other!

Research shows that roses with healthy populations of mycorrhizae are more vigorous, with increased drought- and disease-resistance and the ability to take up more nutrients and water. Myco means fungus. Rhiza means root. So the term refers to the symbiotic relationship between the two. (See resource list for lacto serum and ‘Poop Soup’ recipes.)

Nearly all water and nutrients taken up by roses come from the soil. Therefore, we must try to understand the nature of our native soil and then manage it to provide our roses with what they need.
Soil scientists have determined that the ideal soil texture for growing roses is 60% sand, 20% silt, and 20% clay. These elements are inorganic matter. The composition of good garden soil or humus contains 45% of this inorganic matter, 5% organic matter, 25% water, and 25% air.

The easiest way to improve the water and nutrient retention in your soil is to increase the amount of organic matter. As a rule, the greater the variety of organic material used, the greater the variety of potential nutrient release for future plant use.

Water Basics

Humus can hold up to 20 times its weight in water! One square foot of this quality soil can contain up to 40 gallons of water. Think of it like a sponge (only much better). So it makes sense in terms of water conservation and efficiency to improve the soil so it can retain more water for plants.

Drip irrigation, which only provides water to the plants or areas that need it, can substantially cut back on your usage and help limit the growth of unwanted weeds.

Using synthetic fertilizers actually dries out the soil and causes you to use more water just to keep the plants alive and growing. Besides destroying the health of the soil, pesticides and chemical fertilizers contaminate streams, kill microbial life, leach into waterways, and build up harmful ecological deposits.

Planting Roses the Right Way

A rose that is happy in its conditions, with plenty of sunshine and healthy soil, is going to be naturally healthy and disease resistant in your garden eliminating any need for harsh chemicals (P. Kukielski).

Sounds pretty simple, right? Of course right! This is all you need to do! Yes, you do have a role to play. You can’t plant it and forget it. Make sure you don’t leave any of these important steps out:

Pick the right rose, plant it properly, and care for it well (you won’t need chemicals).

Know that roses thrive in sun, good soil, drainage, and they need air, more water the first year, and regular mulching.

Basic planting steps:

  1. Amend the soil in the planting bed.
  2. Dig a hole slightly larger and deeper than the root ball or bare roots of the rose.
  3. Add compost to the dirt removed from the planting hole at a ratio of ⅓ compost to ⅔ soil.
  4. Prepare the hole and plant the rose:
    • Container rose – backfill hole with compost soil to the bottom of the pot then place plant in the hole and fill in around the root ball. Tamp in well. Soil should be even with natural soil level.
    • Bare root rose – create a small mound in the hole and spread the roots over the mound, then backfill with soil compost mixture. Tamp in well. The soil should be even with the natural bed level.
  5. Water well.
  6. Top with 3-inch mulch layer.
Katie’s design proposal for a Veterans Memorial Rose Garden

Identifying Sustainable Roses

The best tool I found on picking disease-resistant (not disease free), sustainable roses was Peter E. Kukilski’s book, Roses Without Chemicals. In this book he lists 150 roses, rates them for disease resistance, flowering and fragrance. And with each of these roses, he also suggests companion plants to accent the unique color and growth of the rose. Peter includes lists of roses by region and climate and has fabulous color pictures throughout.

I would also suggest visiting rose gardens, talking to local rose growers, and asking nursery owners which roses do best in your area.

Following are some resource links and lists on the topic of sustainable rose growing.

May you enjoy years of growing and sharing your very own sustainable roses!

Recipes to Inoculate Your Roses

LAB Serum (also known as Lacto)

Can be applied to plants and soil — get the recipe here

Poop Soup

    • Fill a 5 gallon bucket with 4 gallons of well water or city water aged 2 days.
    • Add 1 gallon of FRESH horse poop, stir daily for 1 week.
    • Then add 2 cups Calf Manna, 1 cup compost starter, 2 cups good garden soil or fresh compost, 2 tablets of Primal Defense (available at health food stores or online)
    • 2 cups of sugar.
    • Stir, let brew for 1 day, then sprinkle lightly all over your rose garden, both the plants and the soil.

Websites

Our Water Our World: Roses
ourwaterourworld.org/roses/

Rose Solutions
rosesolutions.net/sus_roses.html

American Rose Trials for Sustainability
americanrosetrialsforsustainability.org

Earth-Kind Rose Trials
aggie-horticulture.tamu.edu/earthkindroses/

Help Me Find Roses
helpmefind.com/roses

The New Millennial Rose Garden
millennialrosegarden.com

Paul Zimmerman Roses Forum
paulzimmermanroses.com

Peter Beales Roses Forum
classicroses.co.uk/forum